Techniques for making a well-lit image of the required size include:
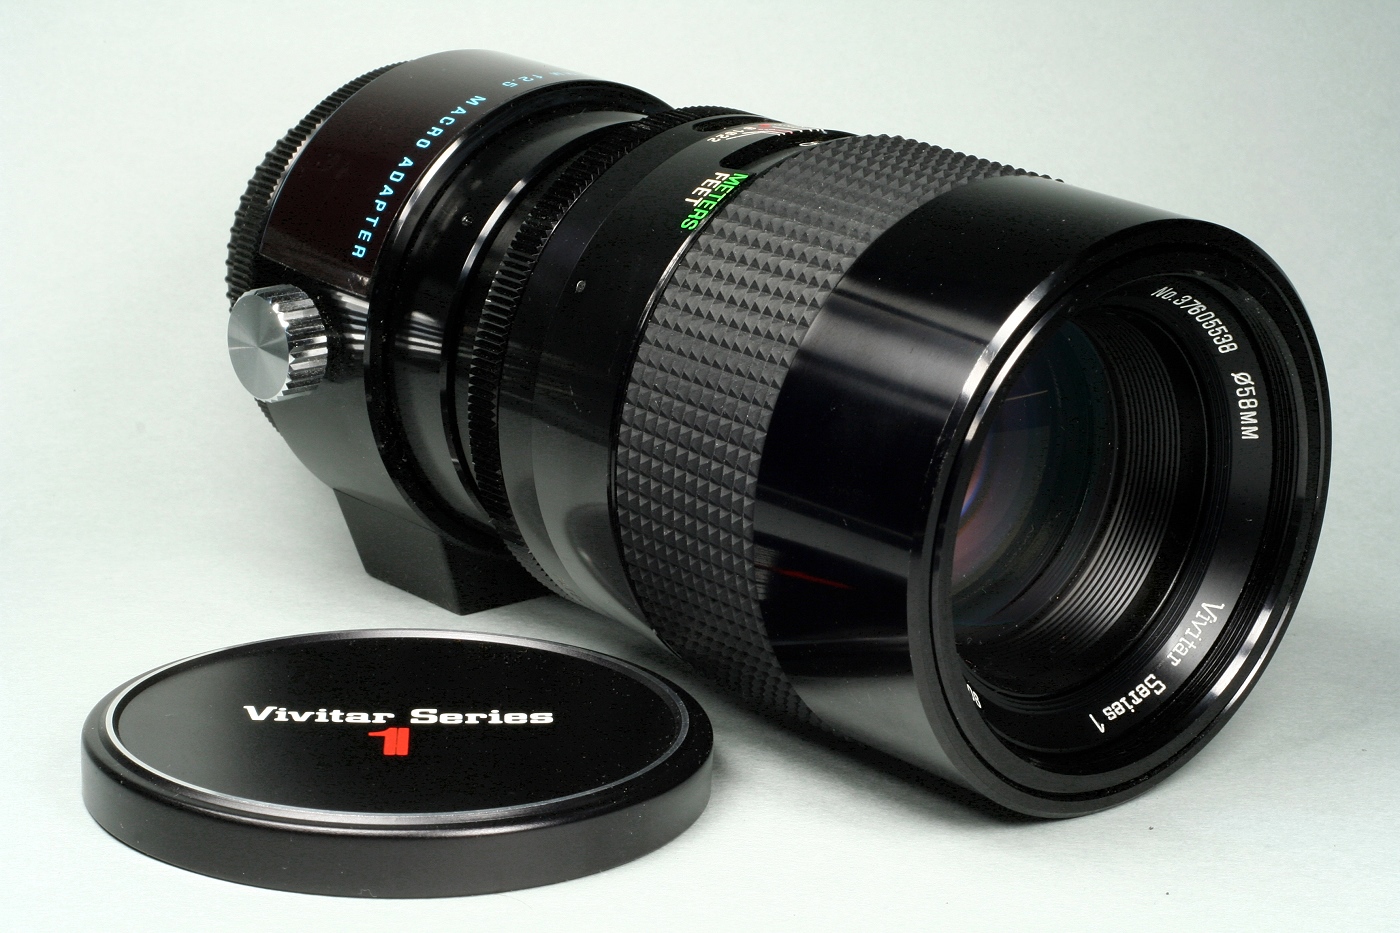
Using a lens specifically designed for close work and with a long barrel for close focusing, called a macro lens. Some manufacturers call it a micro, which might actually be scientifically more accurate, but can be confusing, since it goes against the established convention. These lenses provide consistently high optical quality when taking macrophotographs since they continuously change their optical formula as the lens focuses closer. They can also (generally) focus to infinity as well, and in most cases provide excellent optical quality when used for normal photography, although a macro lens might be optimized to provide its best performance at a magnification of 1:1. Some macro lenses, such as the Canon MP-E 65 mm f/2.8, can achieve higher magnification – up to 5:1 macro, enabling photography of the structure of small insect eyes, snowflakes, and other minuscule but detailed objects. However, "standard" (1:1) macro lenses are more common, and many of these find frequent use for general photography because of their excellent optics. There are different categories of macro lenses, depending on the focal length:
- 50–60 mm range typically used for product photography and small objects
- 90–105 mm range the standard focal range used for insects, flowers, small objects
- 150–200 mm range gives more working distance — typically used for insects and other small animals
- a few zooms provide a macro option, but they generally do not allow a 1:1 magnification
 |
| Vivitar Series 1 macro lens |
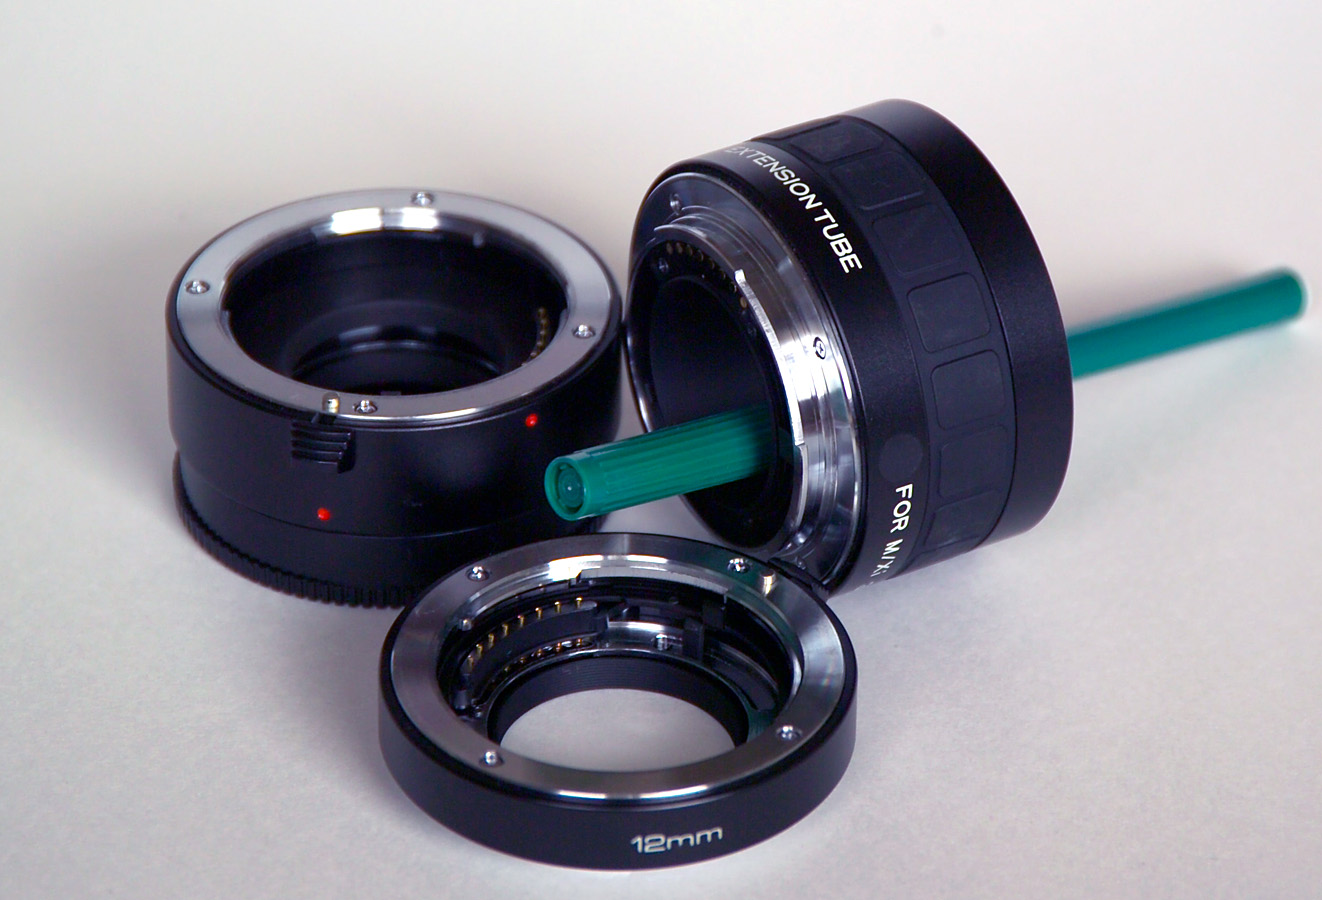
Extending the distance between the lens and the film or sensor by inserting either extension tubes or a continuously adjustable bellows, with no optical components; between the camera body and the lens. The further the lens is from the film or sensor, the closer the focusing distance, the greater the magnification, and the darker the image for the same aperture. Tubes of various lengths can be stacked, decreasing lens-to-subject distance and increasing magnification. Bellows or tubes must be removed for normal working at longer distances. They can be used in conjunction with some other techniques (e.g., reversing the lens).
 |
| Extension tubes for SLRs. Note the pen placed through the tube to illustrate that it does not contain any lens elements |
Placing an auxiliary close-up lens in front of the camera's taking lens. Inexpensive screw-in or slip-on attachments provide close focusing at very low cost. The quality is variable, with some two-element versions being excellent while many inexpensive single element lenses exhibit chromatic aberration and reduced sharpness of the resulting image. This method works with cameras that have fixed lenses, and is commonly used with bridge cameras. These lenses add diopters to the optical power of the lens, decreasing the minimum focusing distance, and allowing the camera to get closer to the subject.
 |
| Bellows fitted between an SLR and reversed lens |
- Reversing a lens of lesser focal length in front of a normally mounted lens using an inexpensive macro coupler, which screws into the filter threads on the front of the two lenses to join them mechanically. This method allows most cameras to maintain the full function of electronic communication with the normally mounted lens for features such as open-aperture metering. Magnification ratio is calculated by dividing the focal length of the normally mounted lens by the focal length of the reversed lens (e.g., when an 18 mm lens is reverse mounted on a 300 mm lens the magnification ratio is 16:1). The use of automatic focus is not advisable if the first lens is not of the internal-focusing type, as the extra weight of the reverse-mounted lens could damage the autofocus mechanism. Working distance is significantly less than the original lens. This amounts to using a lens normally used as a main photographic objective as an auxiliary lens.
 |
| Wide-angle lens used as a reversed lens in front of a macro lens |
- Close up lens filters: a close up filter is the simplest, cheapest way to go to be able to focus closer to your subject. It’s a special filter that screws in to the end of your regular (non-macro) lens. Close up filters have ranging powers allowing you to get in close to varying extents. A number 4 filter allows you to get in closer than a number 2 filter does. A number 2 filter allows you to get in closer than a number 1 filter. So the higher the number, the more power a filter has to getting you closer to your subject while still maintaining focus. You can also screw multiple close up lens filters to get you even closer to your subject. So if you screw a number 4 and a number 2 close up filters, you’ll end up with a number 6 filter that would allow you to move in even closer. There is one thing you need to keep in mind though. In macro photography the closer you go in, the shallower your depth of field is going to be. So you might not want to go in too close, otherwise you wouldn’t be able to capture a sharp well focused photo of your subject.
- Depth of field is extremely small when focusing on close objects; a small aperture (high f-number) is often required to ensure sufficient depth of field. This requires either a slow shutter speed or bright lighting for correct exposure; in all but the brightest natural lighting if a prolonged exposure is not advisable, auxiliary lighting (such as from a flash unit) is required. Uniform lighting can be difficult with subjects very close to the lens; a ring flash mounted on the front of the lens can provide even illumination. Good results can also be obtained by using a flash diffuser, which can be made of inexpensive Styrofoam.


No comments:
Post a Comment